
As an Amazon Associate I earn from qualifying purchases.
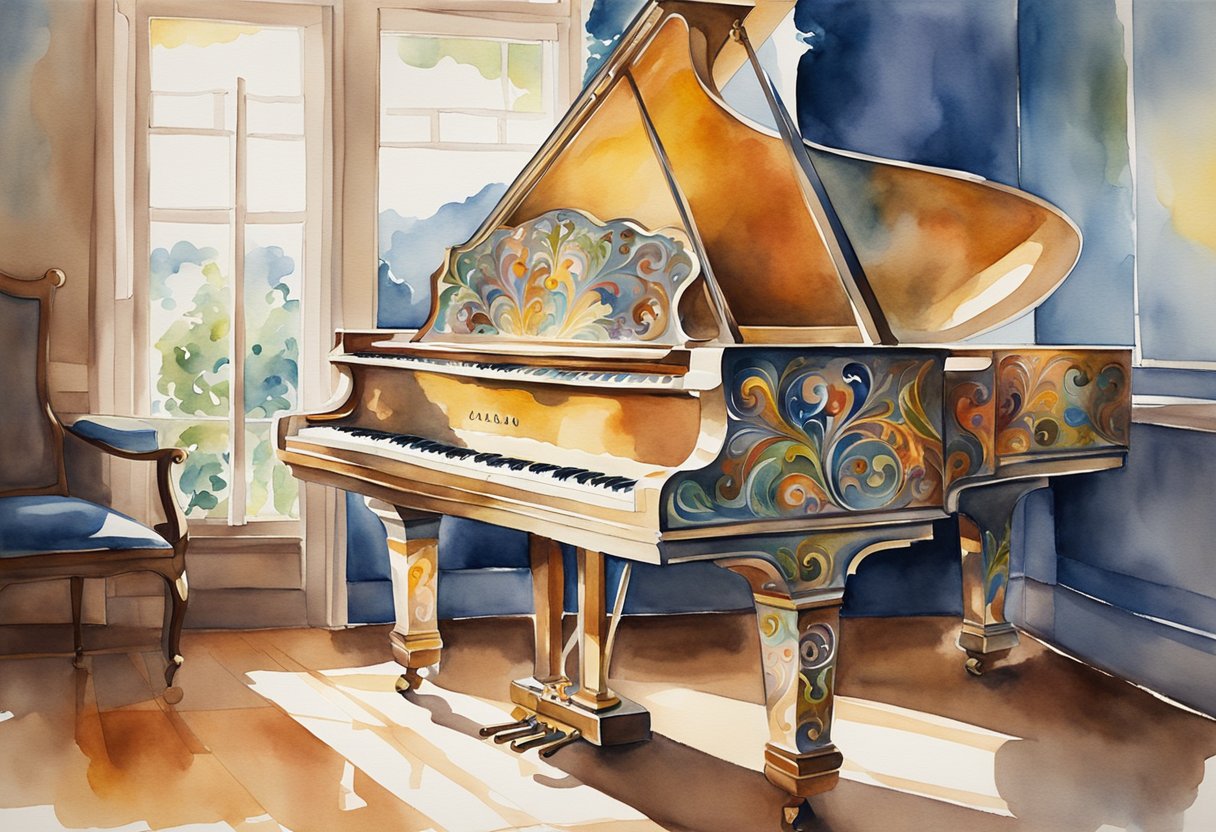
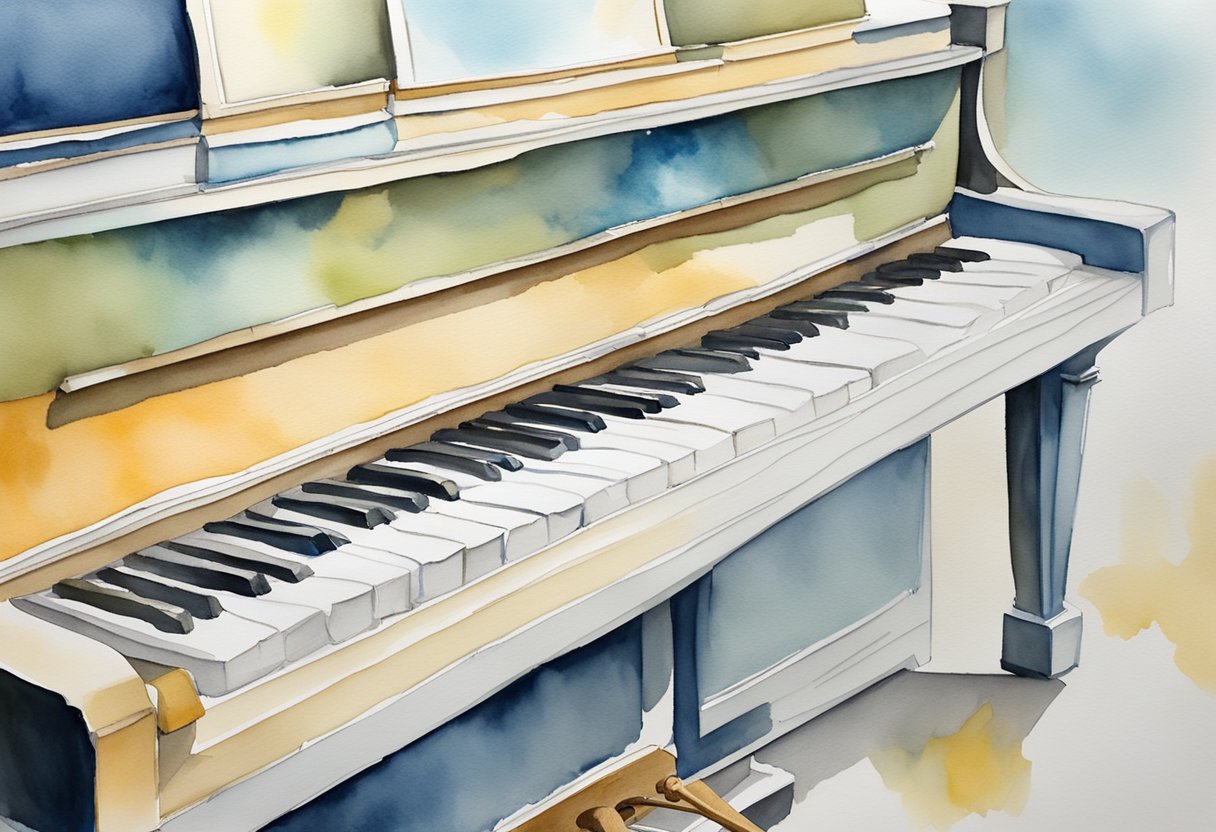
Pianos can absolutely be painted. Many pianists and music enthusiasts enjoy personalizing their instruments, and painting your piano can be a creative way to reflect your style. For instance, an old student of mine once revitalized an old upright with a soft pastel chalk paint, proving that even beginners can successfully give their pianos a fresh look.
Want to Learn Piano?Click Here
When considering how to paint a piano, it’s crucial to select the right type of paint and follow a methodical process to ensure a professional finish. The approach begins with proper preparation, such as cleaning and priming.
Chalk paint is a popular choice for its minimal prep work requirement, while others might opt for a more durable latex paint with a built-in primer. Each type of paint offers a different range of color options and finishes, allowing for versatility in design.
Throughout my years of teaching and performing, I’ve seen painted pianos not only as instruments but also as art pieces that showcase the owner’s personality. While I would never paint anything expensive like a Steinway or Yamaha grand, I think for uprights, especialy old ones, painting is a fine thing to do.
The process of painting a piano involves careful consideration of the piano’s material and the mechanics, especially if the paint job extends to the inner workings or the keys
Preparing Your Piano for Painting
Before embarking on the journey to refresh the look of your piano with paint, it’s essential to understand the preparation process. This part lays the groundwork for a beautiful and lasting finish, examining the piano’s condition, gathering materials, and proceeding with sanding and priming.
Assessing Your Piano’s Condition
Inspect your instrument carefully for any signs of damage or wear. This step is crucial because issues such as cracks, split wood, or loose veneer can affect the outcome of your paint job. If your piano is an antique or holds sentimental value, you might want to consult a professional restorer to maintain its integrity.
Materials Needed for Prepping
To ensure you are adequately prepared for the prepping process, you will need:
- Sandpaper (60 and 150 grit)
- Tack cloth
- Electric sander (optional but handy)
- Primer: I recommend a high-quality product like Zinsser BIN primer.
- Painter’s tape
- Drop cloth or old sheets to protect your floor and surrounding area.
A pro tip: Use painter’s tape to shield the piano keys and pedal areas from primer and paint.
Steps for Sanding and Priming
- Sanding: Begin with a gentle sanding of the piano’s surface, starting with lower-grit sandpaper and moving to a finer grade. This step doesn’t just roughen the surface for better paint adhesion; it’s like preparing a canvas, ensuring any melody you play is visually harmonious with its appearance.
- Cleaning: After sanding, wipe down the piano with a tack cloth to remove all the dust. This prep work is like tuning your piano before a concert—you wouldn’t perform with your instrument out of tune, likewise, don’t paint over dust and debris.
- Priming: Apply a thin, even coat of primer with a foam brush or roller, taking your time just as you would when learning a complex piece of music. A properly primed piano ensures the paint will hold its tone, much like a perfectly tempered string resonates with clarity.
Choosing Paint and Applying Techniques
When embarking on the task of painting your piano, choosing the right paint and application method is crucial. It not only ensures a beautiful result but also respects the integrity of your instrument.
Selecting the Right Paint
In selecting paint for your piano, your best options are chalk paint or milk paint. These types of paint adhere well to surfaces without stripping away any of the original charm.
Application Methods for a Smooth Finish
The secret to a flawless finish is in the application. For a uniform coat, a paint sprayer is an excellent tool, especially if you’re seeking a modern gloss paint look.
But if you’re going for a shabby chic aesthetic, using a brush with chalk or milk paint will give you that desired texture. Remember, multiple light coats are better than a single thick one – think of it like the delicate layers in a piece of music, each one contributing to the overall masterpiece.
Final Touches and Aftercare
Once you’ve achieved the color and finish you desire, the final step is to protect your work. Applying a layer of wax can seal the paint and add a subtle sheen. This final touch is comparable to that last polish of a piece of music before you perform – it enhances the beauty and ensures longevity.
To maintain your piano’s finish, wipe it gently with a soft, dry cloth, much like you would clean the keys after a session.
Hello & thanks for stopping by! I’m a professional concert pianist and piano instructor. In the United States, I’ve given successful performances in several places including New York, Florida, Connecticut, & New Jersey, I have also performed internationally in Italy and made my Carnegie Hall debut in 2014. I enjoy blogging about the piano, the art of performance, general music, current events and the latest in music production.