
As an Amazon Associate I earn from qualifying purchases.
Recording the rich and dynamic sound of a piano poses a unique challenge, even for seasoned musicians like myself.
Over the years, I’ve discovered that capturing the full spectrum of tones from an acoustic piano demands a meticulous approach, from the placement of microphones to the acoustics of the recording space.
For those who play digital pianos, the task becomes more straightforward, yet it still requires an understanding of the digital audio workstations (DAWs) and connectivity options available.
Through trial, error, and dedicated research, I’ve refined a set of techniques that significantly enhance the quality of my piano recordings. My aim is to equip you with these methods, so you can beautifully preserve your performances and share the captivating sound of your piano with listeners everywhere.
Whether you’re looking to create a simple home recording or a professional-grade production, the principles and tips I’ll discuss are universally applicable, ensuring your recordings faithfully convey the essence of your music.
Want to Learn Piano?Click Here
Prerequisites for Recording Piano
First lets get into some prerequisites, such as the right equipment, and recording locations.
Selecting the Right Equipment
I begin by assembling the necessary recording equipment tailored to my piano type, whether acoustic, digital, or grand. Key elements include:
- Microphones, such as the $60 Behringer or the $99 MXL990 for higher fidelity.
- An audio interface to feed high-quality audio to my computer.
- A computer equipped with DAW software like FL Studio or Cubase.
- Studio monitors, with the KRK Classic being a trustworthy choice.
- Sound Isolation Panels to minimize sound bleed and ensure cleaner recordings.
Keeping in mind the various price points, I prioritize where to invest, especially regarding DAW software and listening equipment, such as the Bose noise-cancelling headphones I prefer.
| Equipment | Average Price |
|---|---|
| Microphones | $60 – $99 |
| Phantom-powered audio interface | $49 – $119 |
| DAW software | $99 – $579.99 |
| Studio Monitors | $209 |
| Sound Isolation Panels | $45 |
Preparing Your Piano
Ensuring my piano is performance-ready involves several steps:
- Tuning: Having my piano tuned by a professional to ensure pitch accuracy is a must.
- Regulation: Adjusting the action for uniform responsiveness is crucial.
- Voicing: Tailoring the piano’s tonal color achieves a harmonious sound.
- Maintenance: I pay attention to clean the keyboard, soundboard, and address any noise that might arise from the pedals or bench.
While tuning generally starts at $125, the overall cost of preparation varies but is a worthy investment for an optimal recording session.
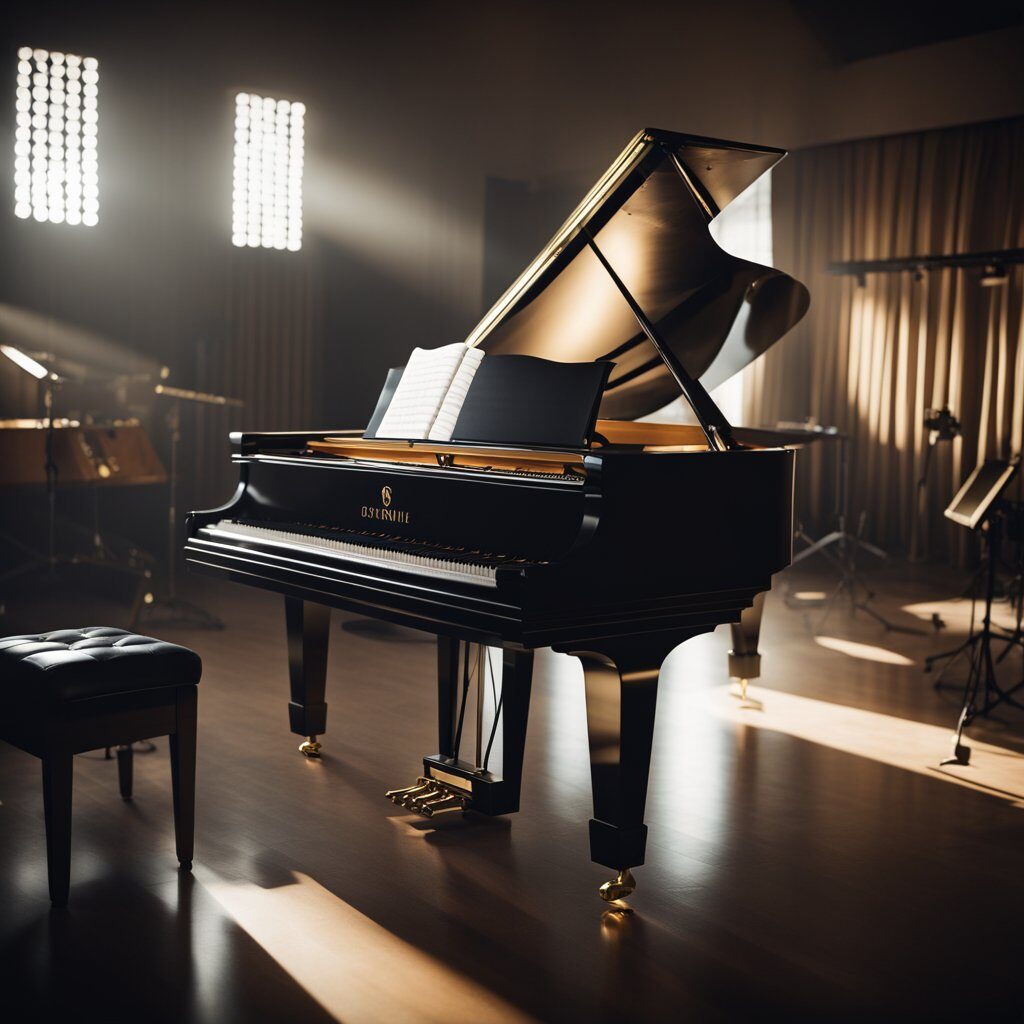
Finding a Suitable Location
The choice of venue greatly impacts the overall sound quality. My strategy involves:
- Steer away from rooms with bare walls which cause harsh sound reflections.
- Employ sound absorptive materials to manage echoes and achieve desirable room acoustics.
- Find the right microphone placement to best capture the piano’s true ambience.
When my home setup isn’t sufficient, I explore venues with inherent acoustic benefits like churches or schools, sometimes even facilities like a Steinway Piano Gallery. Establishing a rapport within the community can provide access to these spaces, occasionally at no cost.
Audio Recording Techniques
Now what you’re really here for, figuring out how to get those recordings to sound crisp, where to place the mics, and how to use DAW workstations.
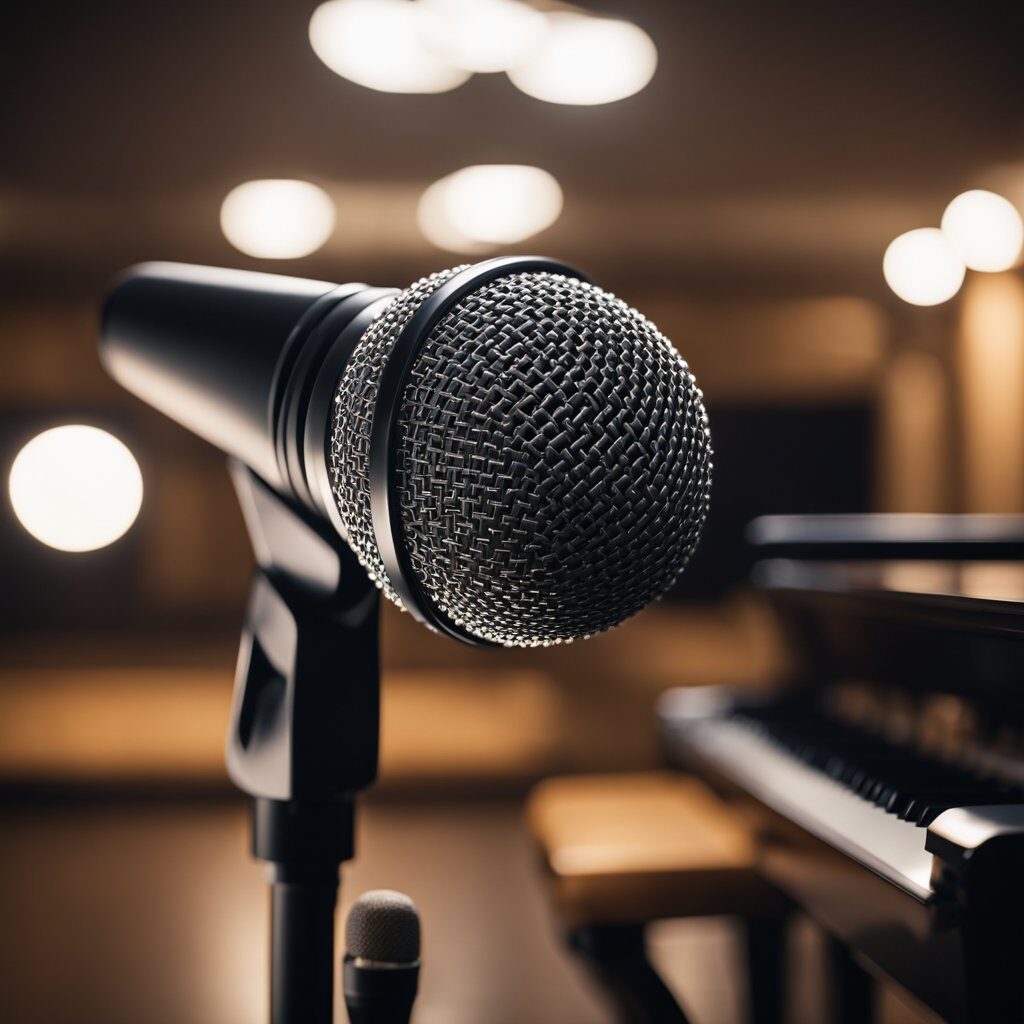
Microphone Choices and Placement
In my experience, condenser microphones are superior for capturing the delicate nuances of a piano. They are highly sensitive and offer a broad frequency response, making them ideal for the intricate sounds of the piano.
Microphone placement is crucial – it can drastically influence the final recording. To get a full range, I place multiple microphones around the piano, including near the hammers to pick up the bass notes and higher up to capture the treble.
Additionally, an ambient mic positioned some distance away can enrich the recording with natural reverb.
Adjustments on the audio interface for volume levels of each microphone ensure that the sound is balanced just right. It’s essential to get the positioning correct well before the recording day to minimize last-minute adjustments. I usually go to the venue a few hours before if I can get in.
Digital Audio Workstations
For editing and mixing, I rely on DAWs like Audacity and GarageBand. Audacity is particularly advantageous for its Mono and Stereo track visibility, which guides me in balancing the microphones.
Plugins and effects within DAWs offer added layers to the piano sound. Whether it’s initial recording or mastering, I select my DAW based on my specific needs and budget.
Tools like FL Studio are excellent for post-processing, where I apply reverb and tuning filters to enhance the sound. Personaly though, I never record in FL Studio as its too many buttons to choose from that just add to the little time I already have.
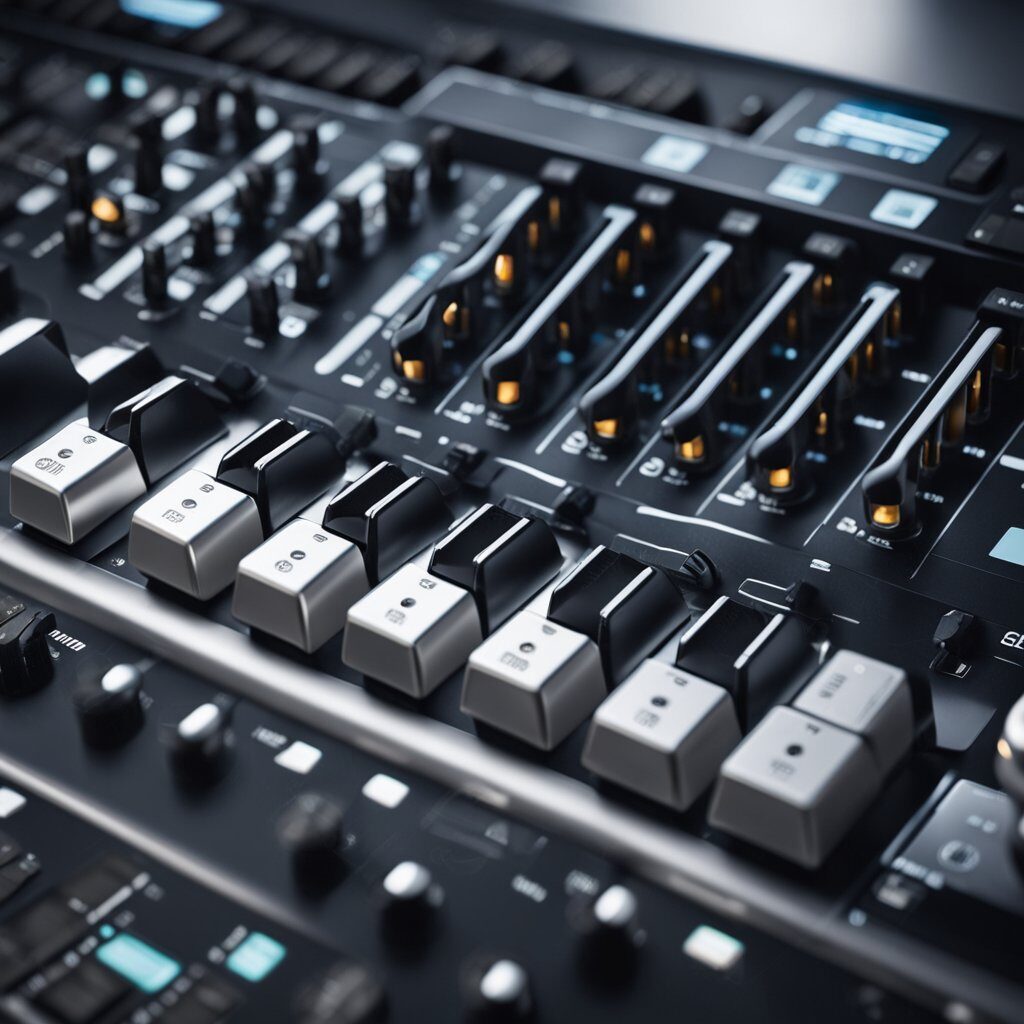
Audio Interfaces
An audio interface is indispensable for connecting my piano to a recording device. It has to be selected with careful consideration for the number of inputs, DAW compatibility, and the quality of its preamps.
All high-quality condenser microphones require interfaces with Phantom power.
I steer clear of USB microphones and interfaces that could degrade the sound quality or introduce latency.
Typically, an interface like the M-Audio M-Track-Duo suffices for my setup, with its multiple channels and comprehensive software suite.
MIDI Recording
While traditional piano audio recording captures the acoustics, recording MIDI data from my digital piano opens a window for extensive editing and sound manipulation.
I connect my digital piano via USB or a MIDI interface, enabling me to modify notes, alter tempo, and experiment with different instrument sounds. However, this is only applicable to digital pianos, as acoustic ones can’t capture MIDI data.
Digital Piano Recording
Connecting to a Computer or Laptop
I find connecting my digital piano to a computer or laptop fairly straightforward. Here’s how I do it:
- MIDI Connection: I connect the MIDI out port of my piano to the MIDI in port of a MIDI interface using a MIDI cable. Then, I link the interface to my computer.
- USB-MIDI Connection: When using a USB-MIDI connection, I simply take a USB cable and plug one end into my digital piano and the other into my computer’s USB port.
After establishing the connection, I open a Digital Audio Workstation (DAW) on my computer, which recognizes my piano as a MIDI device, and I’m ready to start recording.
Choosing the Right Cable:
- A MIDI to MIDI cable if I’m using a standard MIDI port.
- A USB to USB cable, typically a USB-B to USB-A type, if my piano has an onboard USB-MIDI port.
Configuring Software:
- Launch my chosen DAW.
- Create a new MIDI track.
- Assign the track to receive input from my digital piano.
- Hit record and start playing.
Table of Compatible Software:
| DAW | MIDI Support | USB-MIDI Support | Note Editing |
|---|---|---|---|
| GarageBand | ✔️ | ✔️ | ✔️ |
| FL Studio | ✔️ | ✔️ | ✔️ |
| Ableton Live | ✔️ | ✔️ | ✔️ |
Using VST Instruments
For a richer sound experience, I utilize Virtual Studio Technology (VST) instruments in my recording process:
- Integrate VST Plugins: I add VST plugins to my DAW, which provide me with a collection of premium sounds to improve the tonal quality of my recordings.
- Experiment with Sounds: I test various VSTs to find the sounds that best enhance my music. For instance, replacing standard MIDI piano sounds with high-fidelity grand piano samples.
- Avoid Free VSTs: While some free VSTs are decent, I usually go for licensed ones to ensure compatibility and superior tone quality.
Pros of Using High-Quality VSTs:
- Delivers sounds closely resembling real acoustic instruments.
- Offers an array of piano models and other instruments.
- Provides extensive editing features for customizing the sound.
My Preferred VSTs:
- Synthogy Ivory II: For exquisite grand piano emulations.
- Native Instruments Komplete: A comprehensive package with a wide selection of pianos.
Video Recording Tips
Camera and Tripod
For capturing piano performances, I use a high-quality camera and ensure stability with a tripod. Although a mobile phone can suffice, the visual fidelity from a camera is preferable.
I always secure my device to a phone tripod to eliminate any wobbles and maintain a steady frame.
Setting Up Your Recording Space
I begin by decluttering my space to keep the attention on my performance. I also position my camera carefully to avoid it sitting on the piano, as recommended by Hoffman Academy, ensuring it doesn’t pick up vibration noise or cause unwanted movement.
Lighting and Composition
To ensure every detail of my playing is visible, I optimize lighting, allowing natural light to illuminate key areas without casting shadows.
Composition-wise, I aim for angles that showcase my fingers, the keys, and my expressions to create a compelling visual narrative.
Recording Audio and Video Simultaneously
While capturing video, I record audio separately to faithfully reproduce the piano‘s sound using devices like the Zoom H4n.
Later, I synchronize audio and video using editing software such as iMovie, Filmora, or DaVinci Resolve, ensuring a professional presentation of my performance.
Listening and Analyzing Your Recordings
After recording, I listen back with high-quality studio headphones to evaluate my performance. This step is critical for recognizing areas that excel and those which need refinement.
As a pianist, it allows me to hear subtleties that may go unnoticed in the moment of playing and provides insight on how to enhance musical expression, be it for pop, jazz or classical pieces.
- Technical Precision: Checking for accurate timing and note clarity.
- Expression: Paying attention to dynamics and phrasing.
- Tone: Assessing the piano’s sound and the recording’s acoustic quality.
Professional Options For Recording Your Piano Playing
When aiming for high-quality recordings of my piano performances, I prioritize using a condenser microphone. This type of microphone excels in capturing a piano’s higher frequencies, which enhances the clarity of the recording, especially in the mid to treble ranges.
Here’s a succinct setup I find effective:
- Microphone Choice: Condenser Microphone for clear, resonant sound capture.
- Microphone Placement: Place microphones near the piano’s sides for an optimal blend of direct and reflected sounds.
- Piano Condition: Ensuring the piano is perfectly tuned is non-negotiable for professional sound.
The Zoom recorder has been my go-to device, offering portability without compromising on recording quality.
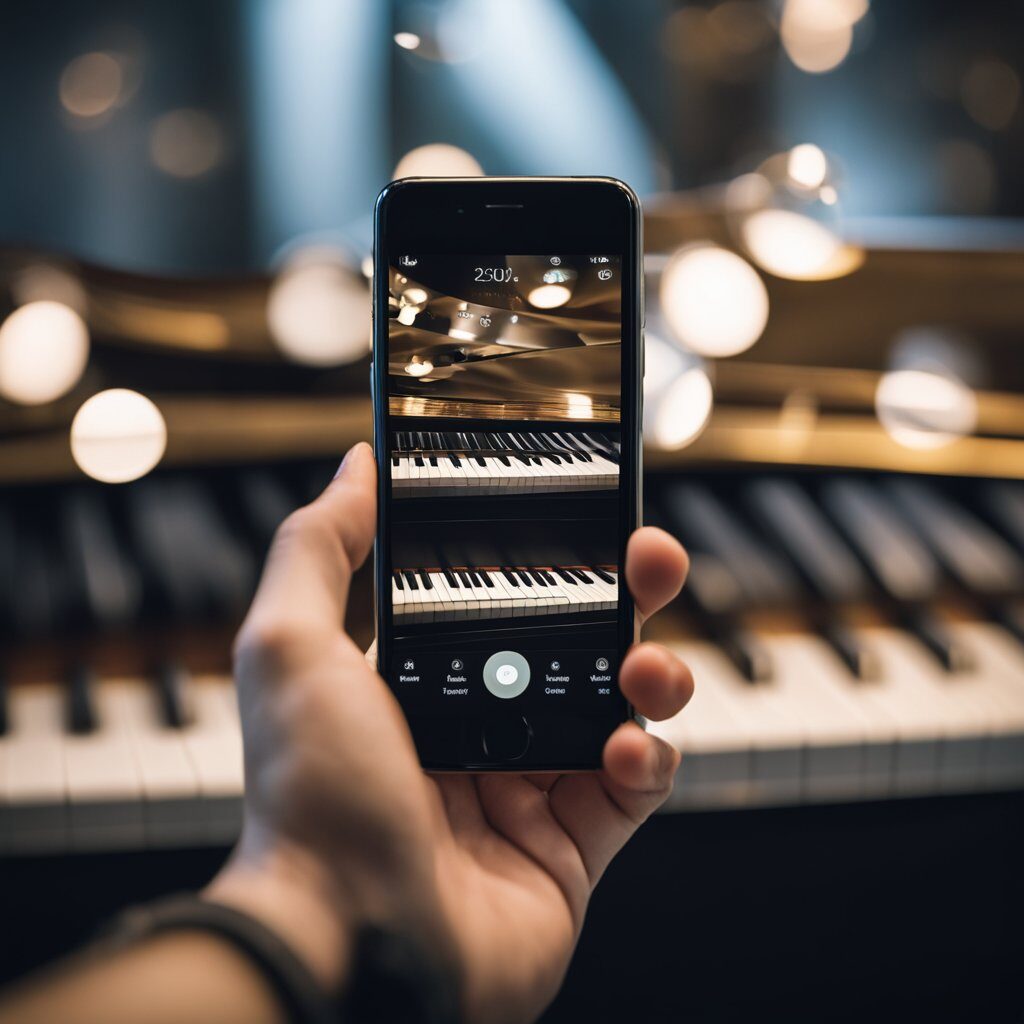
For video capture, nothing beats the simplicity of placing a smartphone or tablet on the piano, supported by some weight.
| Equipment | Purpose | Benefit |
|---|---|---|
| Condenser Microphone | Sound Capture | Crisp high-frequency response |
| Zoom Recorder | Audio Recording | High-quality, portable recording |
| Mobile Device | Video Recording | Convenient performance documentation |
I ensure I have the right tools and conditions for piano recording:
- The use of a microphone that suits the natural sound profile of the piano.
- Attention to microphone positioning to capture the piano’s acoustics accurately.
- Regularly tuning of the piano for flawless pitch and harmony.
For visual recordings, a simple setup can involve just a well-placed mobile device, often balanced on the piano with a sturdy weight. Although this might not frame all 88 keys, it serves its purpose for a quick visual documentation.
In my pursuit of musical perfection, these methods and tools have greatly improved the quality of my recordings, providing a professional outcome that I am proud to share. Using such techniques, I capture not only the audio but also the immersive experience of a performance, knowing that the essence of the music is always there.
Hello & thanks for stopping by! I’m a professional concert pianist and piano instructor. In the United States, I’ve given successful performances in several places including New York, Florida, Connecticut, & New Jersey, I have also performed internationally in Italy and made my Carnegie Hall debut in 2014. I enjoy blogging about the piano, the art of performance, general music, current events and the latest in music production.